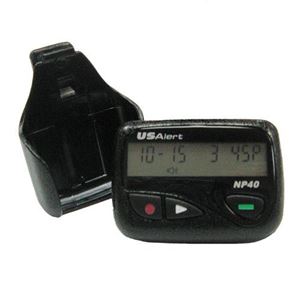
The NP40 Programmer is initially setup by connecting the USB cable to the programming fixture and an available USB port on the computer. The power LED on the fixture located next to the USB connection should turn green. Install and run the latest version of the programming software. If the J7 programming fixture is recognized by the programming software, the screen should display “J7 Programmer”. To actually select the NP40 version of the programming software, the user must click on “J7 Programmer”. The display will then change to “J7”. Pressing the “Configure” button will bring up the programming screen and display “USB programmer connected” at the bottom left of the screen. A “NO PAGER” indication is also displayed next to it.
The NP40 Pager has its programming connections in its battery compartment, so programming the pager requires the battery door be removed, no battery in the pager, and the pager positioned over the seven programming pins in the fixture. The NP40 is then pressed down until the “Read” and “Write” buttons of the programming software become active. The “NO PAGER” indication changes to “PAGER INSERTED”. The pager must be held in place while performing a read or write action.


